Last Updated on April 4, 2026 by Sheila R. Wright
Tattoo transfer paper is specially coated with a durable ink-jet receptive layer. This allows you to print your tattoo design directly onto the paper using aninkjet printer. The resulting image can be transferred onto your skin using a variety of methods, such as water or heat.
If you’re looking to get a new tattoo, you may be wondering how tattoo transfer paper works. Tattoo transfer paper is a special type of paper that is used to help transfer the design of your tattoo from the stencil onto your skin.
The first step in using tattoo transfer paper is to create a stencil of your desired tattoo design.
Once you have your stencil, place the tattoo transfer paper over top of it and trace the outline of the design onto the paper. Be sure to use a sharp pencil or pen so that the lines are clear and easy to see.
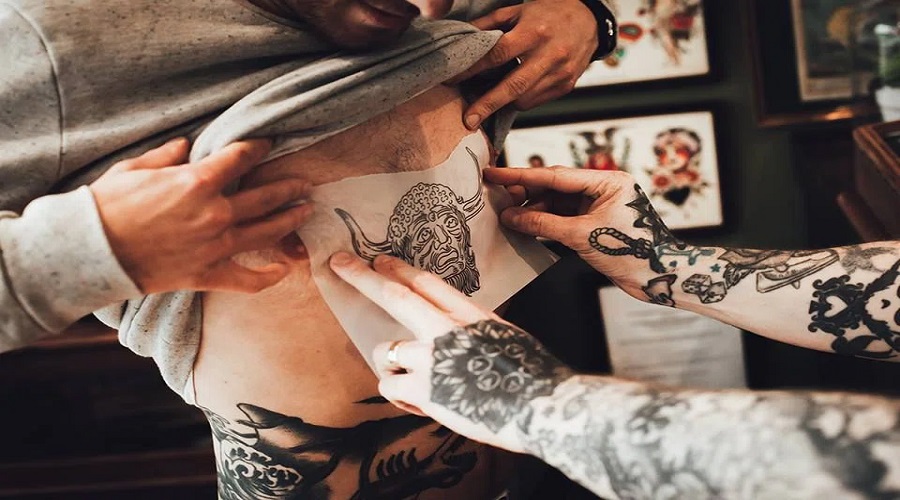
Next, remove the stencil and place the tattoo transfer paper on your skin where you want the tattoo to go.
Use a damp cloth or sponge to wet the back of the paper, then press it firmly onto your skin for 30 seconds to 1 minute. Carefully peel off the paper, and you should see a faint outline of your tattoo design transferred onto your skin!
Now it’s time to start filling in your tattoo!
Use whichever colors you like best and fill in any blank spaces within the outline. Once you’re happy with how it looks, carefully wash off any excess ink from your skin using soap and water.
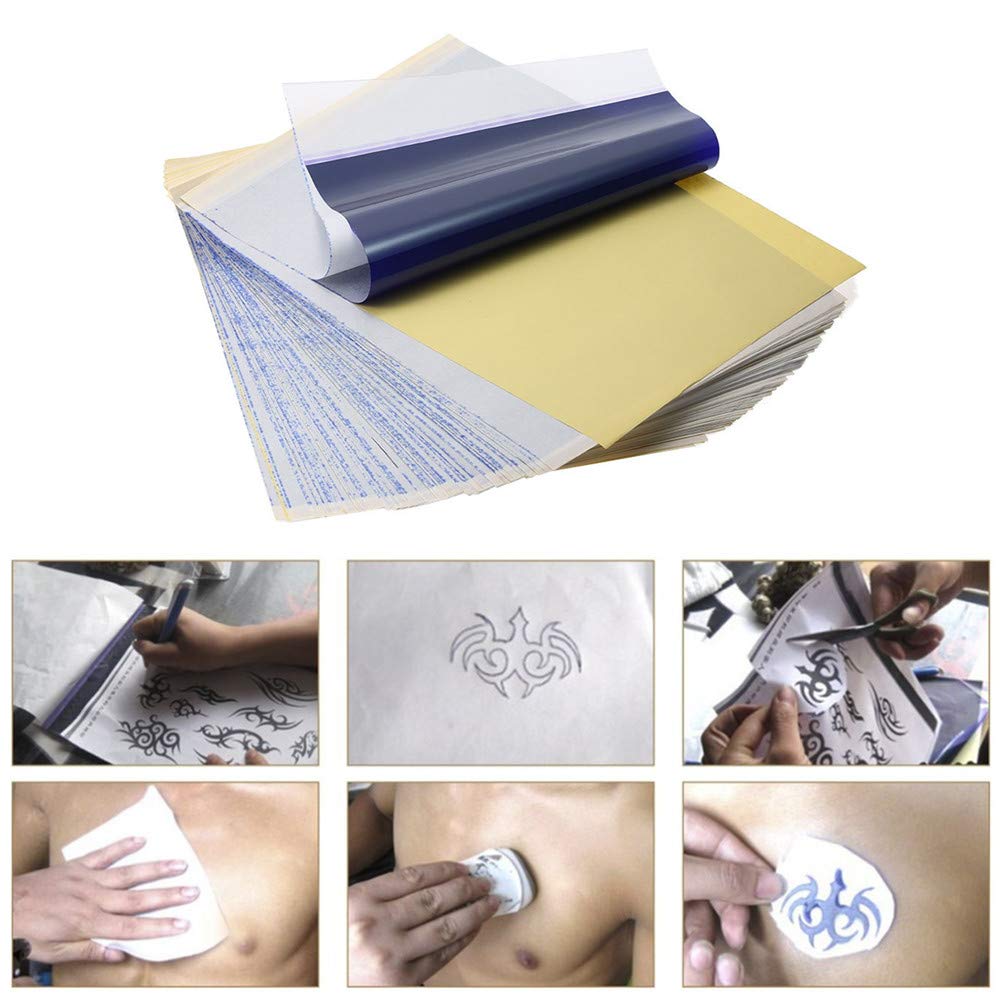
Credit: www.amazon.com
How Do You Use Transfer Paper for Tattoos?
If you’re looking to add some new ink to your collection, transfer paper is a great way to get started. Here’s how to use it:
1. First, find a design that you like and print it out on the transfer paper.
Make sure that the design is mirror-reversed before you print it!
2. Cut out the design, then place it on your skin where you want the tattoo to go. Use a damp cloth to lightly wet the back of the paper.
3. Press down firmly and wait a few minutes for the image to transfer onto your skin. Once it’s dry, you’re ready to start tracing!
How Does Transfer Paper Work?
When you use transfer paper, you are essentially creating a mirror image of your design on the paper. The first step is to print your design onto the transfer paper. Make sure to use a laser printer or photocopier, as inkjet printers will not work.
Once your design is printed, carefully place the piece of transfer paper with the printed side down onto your fabric. Use a hot iron to press the design onto the fabric for 30-60 seconds, making sure to apply pressure evenly over the entire surface. Peel off the backing paper and voila!
Your design has been transferred onto your fabric!
How Do You Get Transfer Paper to Stick to Your Skin?
If you’ve ever wanted to get a tattoo but were worried about the pain, then transfer paper tattoos are the perfect solution! They look just like the real thing and can be easily removed when you’re ready. Plus, they’re a lot less painful than getting a traditional tattoo.
Here’s everything you need to know about how to get transfer paper to stick to your skin.
The first step is to make sure that your skin is clean and dry. If there’s any oil or moisture on your skin, the paper won’t stick as well.
Once your skin is prepped, cut out the design that you want from the transfer paper. Then, place the paper on your skin and hold it down for a few seconds.
Next, take a wet cloth and press it against the back of the transfer paper.
This will help release the design onto your skin. Carefully peel off the transfer paper and voila! You now have a beautiful new tattoo that didn’t require any needles!
Can I Use Deodorant to Transfer Tattoo?
No, you cannot use deodorant to transfer tattoo. Deodorant will not work as a tattoo stencil and will not help the ink to stay in place on your skin. If you are looking for a way to make your tattoo last longer, consider using a tattoo sealer or tattoo primer before applying your chosen design.
how to use transfer paper for tattoos
How to Use Tattoo Transfer Paper Without Thermal Copier
We’ve all seen those people with amazing tattoos that look like they were done by a professional. But how did they get them? It’s not as difficult as you might think.
With the right tools and a little bit of know-how, anyone can create beautiful tattoos at home using tattoo transfer paper.
Here’s what you’ll need:
Tattoo transfer paper Tattoo thermal copier (optional) A design or stencil Pencil Scissors Water Bowl Paper towel Alcohol swabs (optional)
Instructions:
1. Begin by creating your design or finding a pre-made stencil that you like. If you are creating your own design, trace it onto the tattoo transfer paper using a pencil.
If you are using a pre-made stencil, place it on the tattoo transfer paper and secure it in place with tape. Then use a pencil to trace around the outline of the stencil onto the paper.
2. Cut out your design from the tattoo transfer paper, being sure to cut as close to the lines as possible.
3. Fill a bowl with water and soak your tattoo transfer paper in it for 30 seconds to 1 minute.
Conclusion
If you’re looking to get a tattoo, you may be wondering how tattoo transfer paper works. Tattoo transfer paper is a temporary tattoo that can be transferred to the skin. The paper is placed on the skin and then a design is created on top of it.
Once the design is complete, the paper is removed and the tattoo will stay in place for several days. Tattoo transfer paper is a great way to test out a design before getting a permanent tattoo.